How to Practise Sumi-e Brushwork: 5 Fundamental Drills
Every line in sumi-e comes from three variables: speed, pressure and water. Five progressive drills for the straight line, curves, kasure (dry brush), nijimi (bleeding) and the three ink tones — plus how to diagnose what went wrong.
Every mark in sumi-e comes out of three things you control: how fast the brush moves, how hard you press, and how much water is in the hair. Change one and the line changes. Most problems beginners have — lines that come out thick and dead, dry texture that refuses to appear, ink that floods across the paper — are not talent problems. They are one of those three variables being off.
This article is a practice routine for the brushwork itself. Not a subject to paint, but the drills underneath every subject.
If you have not set up yet, Sumi-e for Beginners covers what to buy and how to start. This one assumes you have brush, ink and paper in front of you and want to make the brush behave.
What brushwork means in sumi-e
Why the movement of the brush decides the mark
In sumi-e there is no going back over a line. Ink sinks into the paper immediately and cannot be lightened, covered or corrected. What lands is what stays.
That constraint is why brushwork carries so much of the expression. In a medium you can rework, the finished shape matters most. Here, the movement that produced the shape is visible in the shape itself — a hesitation shows as a blot, a rushed pull shows as a break in the line.
The three variables: speed, pressure, water
It is worth naming what you are actually adjusting:
- Speed — how fast the brush travels. Faster tends toward broken, dry texture; slower lets ink soak in.
- Pressure — how much of the brush touches the paper. The tip alone gives a thin line; pressing to the belly of the brush widens it.
- Water — how much water is in the hair relative to ink. This decides whether the stroke bleeds outward or scrapes dry.
Each drill below isolates one or two of these. When something goes wrong later, you will have a way to name it.
Five brushwork drills
Work through them in order. Each one assumes the previous.
Drill 1 — The straight line: one continuous pull
Load the brush evenly with mid-tone ink. Hold it upright, and pull a horizontal line across the paper in one movement without stopping.
Fill a sheet with them. What you are looking for is not straightness — it is sameness: a line that starts, travels and ends with the same character. Variation between one line and the next tells you your speed or pressure is drifting.
Variable in focus: pressure (kept constant).
Drill 2 — Arcs and curves: using the spring of the brush
Now the same continuous pull, but curving. Let the brush lean rather than turning your wrist — the hair has spring in it, and a curve drawn by tilting the brush keeps a live edge that a wrist-twist flattens.
Draw arcs in both directions. Then draw a long S. Curves are where most people start gripping; if your forearm is tensing, the line will thicken at the turn.
Variable in focus: pressure, with the brush angled.
Drill 3 — Kasure (飛白): the dry, fast stroke
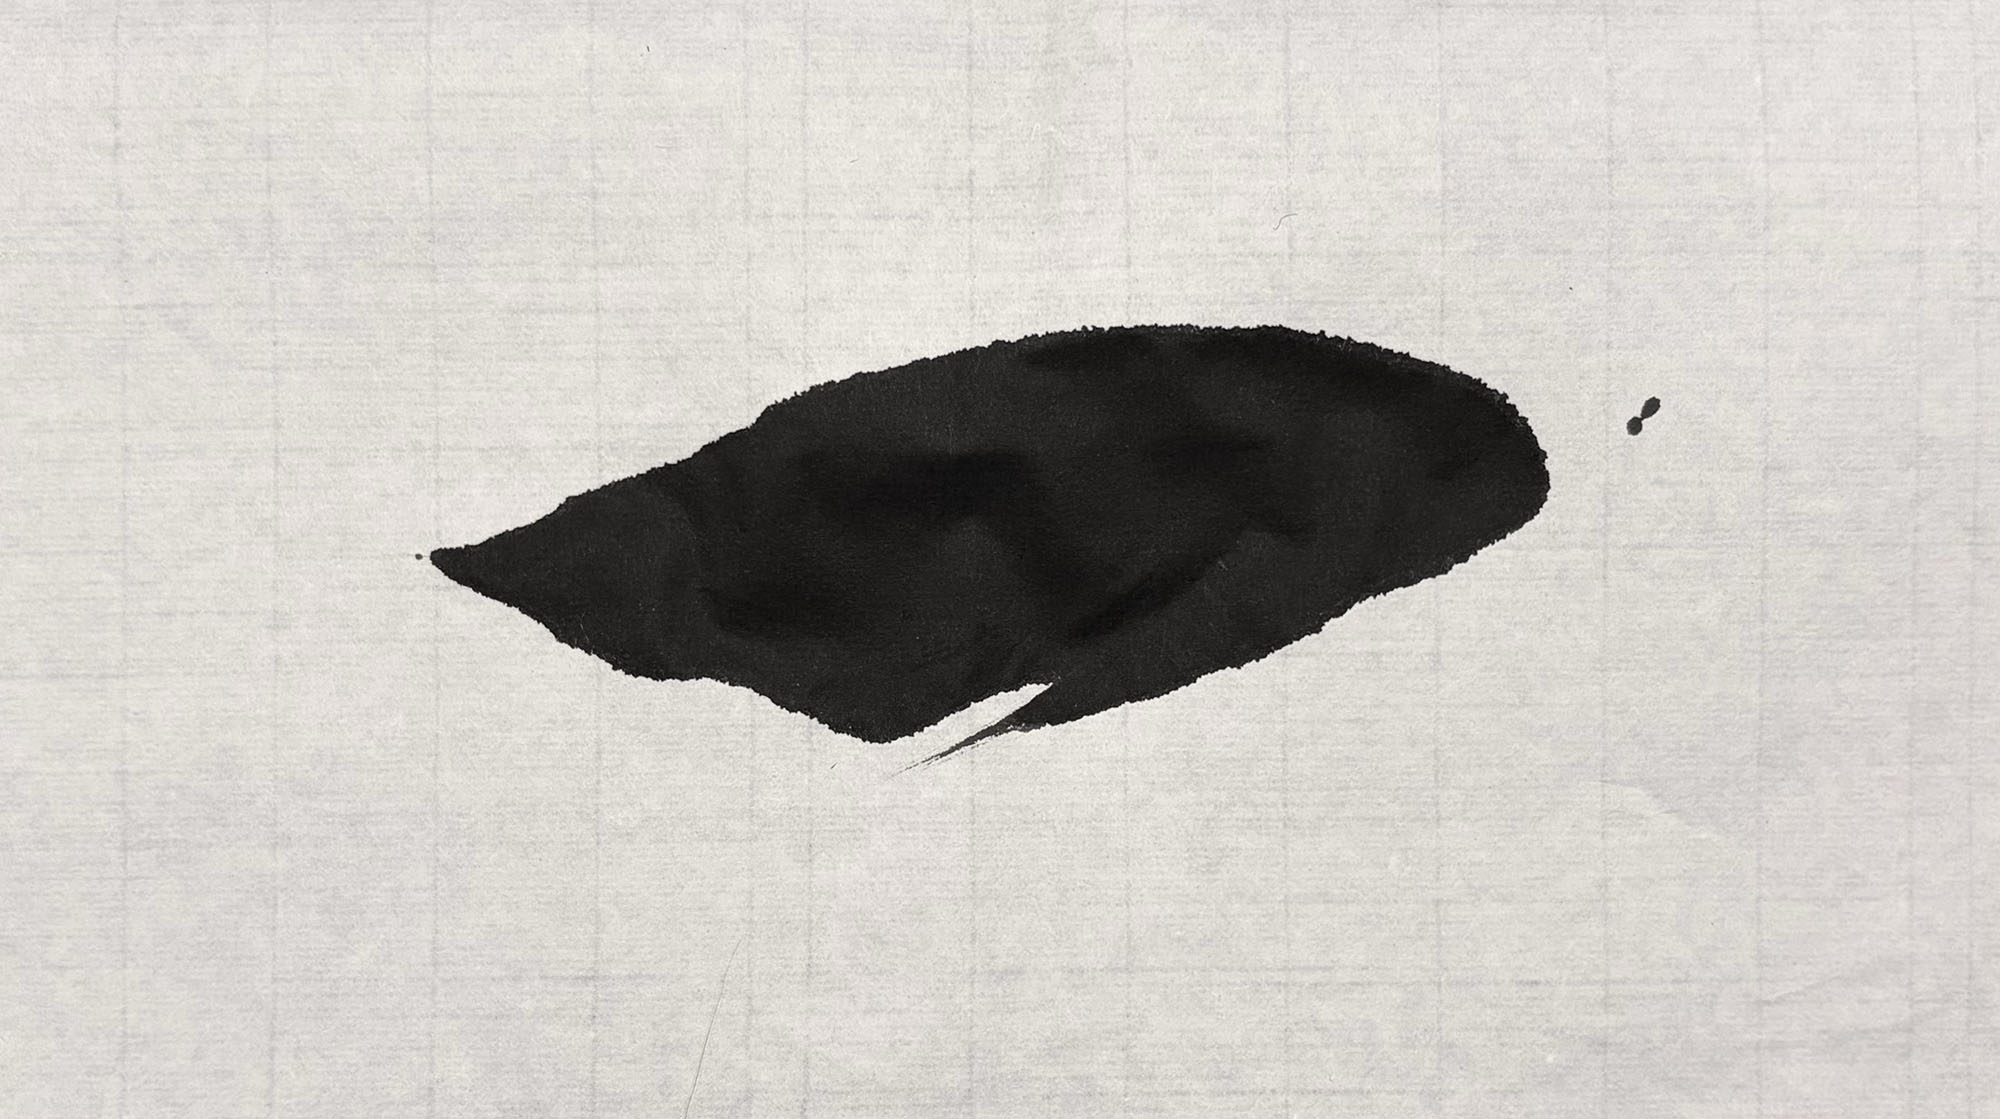
Kasure is the broken, streaked texture left when a nearly dry brush moves quickly across the paper. It reads as age, bark, wind, rock.
Load ink, then draw most of the water back out — press the brush on scrap paper or a cloth until it is barely damp. Then pull fast. The hair separates and skips over the surface of the paper, leaving white inside the stroke.
If nothing breaks up, there is still too much water. Take more out and go faster.
Variables in focus: water (low) and speed (high).
Drill 4 — Nijimi (にじみ): letting the ink spread
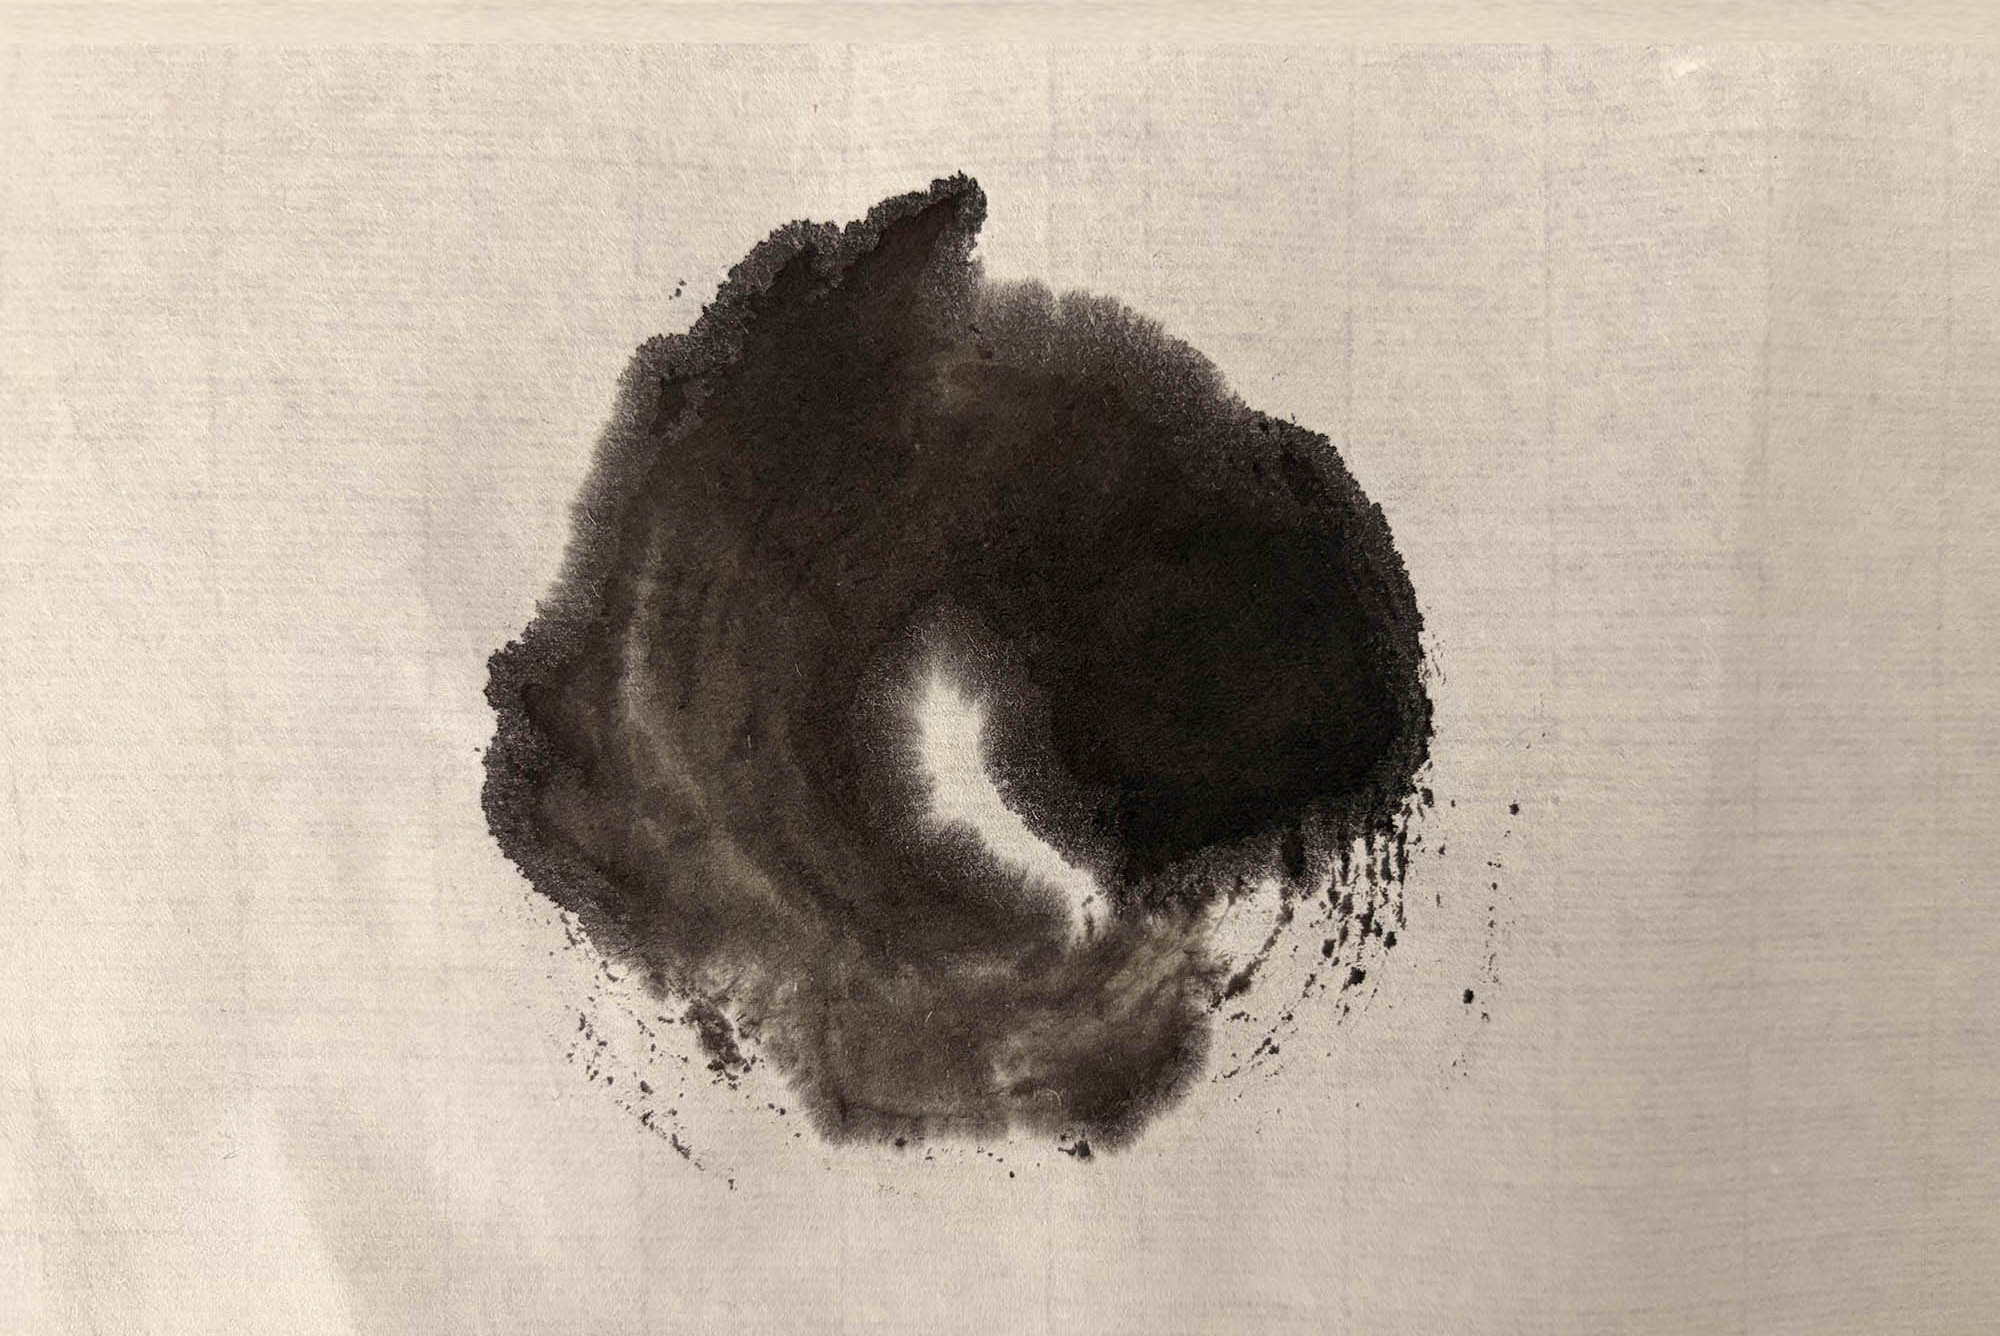
Nijimi is the opposite: ink allowed to bleed outward into the paper. It gives softness, atmosphere, the sense of a wet surface.
Load the brush generously, touch it to the paper and let it rest a moment before lifting. Then repeat with progressively less water and less resting time. Line up the results and you have a scale of your own paper's behaviour.
Paper matters here more than anywhere else — a more absorbent sheet will bleed several times as far. This is worth knowing before you commit to a finished piece.
Variable in focus: water (high), plus dwell time.
Drill 5 — Sanbokuhō (三墨法): switching between three ink tones
Sanbokuhō means working with three tones of ink — pale, mid and dark — often carried on the brush at once.
Mix pale ink and load the brush fully. Dip only the tip into darker ink. Now draw: the stroke should shade from dark at the tip to pale at the belly in a single pull. Practise until the transition happens inside one stroke rather than looking like two strokes overlaid.
This is the drill that takes longest, and it is the one that makes a painting read as depth rather than outline.
Variables in focus: all three, coordinated.
Watch the brush: angle, speed, and the wet–dry contrast
What to look for in the demonstration
Two things are difficult to convey in writing: how far the brush is tilted, and how fast a stroke actually travels. Both are obvious the moment you watch someone paint.
The demonstration below is a complete violet painted step by step by the artist of the Kokusai Bokuyukai channel. It is not a run-through of the five drills above — it is a finished subject — but that is useful in a different way: you can see these same techniques being used in real work rather than in isolation. Watch for:
- Brush angle — when the brush stands upright for a fine line, and when it lies over for a broad one
- Speed — how quickly a stroke is pulled, and where it slows
- The wet–dry contrast — how a loaded brush behaves against one that has been drawn out
Common problems and what causes them
Lines come out too thick
Almost always pressure. Under tension the hand presses harder than intended, and the belly of the brush lands along with the tip. Loosen the grip, lift slightly, and pull from the elbow rather than the fingers.
No kasure appears
Water. The brush is still holding more than you think. Press it out on scrap paper until it feels almost dry, then increase your speed — kasure needs both conditions together, not one.
The bleeding runs out of control
Water again, in the other direction, and dwell time. Lift the brush sooner, and load less. If it still floods, the paper is highly absorbent; test on the sheet you plan to use before deciding the fault is yours.
Frequently Asked Questions
Q. How long should I practise each drill?
There is no fixed number of sheets. A useful marker is consistency: when you can pull ten lines that share the same character, that drill has given you what it has to give. Short sessions repeated often tend to be more useful than one long one.
Q. Why does my kasure (dry brush) not appear?
Nearly always because there is too much water in the brush. Press it out on scrap paper or cloth until it feels almost dry, then pull faster — kasure needs low water and high speed together. If either is missing, the stroke stays solid.
Q. What paper should I use for practice?
Inexpensive washi is fine for drills. Be aware that paper changes nijimi dramatically, so test on the sheet you intend to use for finished work as well. For what to look for in paper, brushes and ink, see the essential tools guide.
Q. Do I need to hold the brush upright the whole time?
No. An upright brush gives a fine, even line; letting it lean brings the belly into contact for a broader, more textured mark. Drills 2 and 3 use the angled position deliberately. Neither is more correct — they produce different lines.
Q. Should I learn these drills before painting a subject?
Not necessarily in strict order. But when a subject goes wrong, the cause is usually brushwork rather than the subject itself, so running the drills alongside your painting tends to be the faster route. Many people alternate: drills one day, a subject the next.
Where this practice leads
These five drills are not a syllabus to finish. They are the things you return to when a painting is not working.
When you want to apply them to an actual subject, bamboo is the traditional next step — it uses the straight pull, the angled stroke and the ink tones all at once. How to paint bamboo walks through it. And if you want to see how far a single stroke can be taken, the ensō — a circle drawn in one breath — is the extreme case of everything above.
Jin is a sumi-e artist and calligrapher whose practice brings Western calligraphy into dialogue with the Japanese tradition of ink painting. In Jin's work, letterforms, brushed lines, and ma — the resonant negative space at the heart of sumi-e — come together in compositions that speak across cultures. This East–West synthesis grounds an ongoing exploration of artistic possibilities that reach beyond cultural boundaries. Jin currently serves as a Director of the International Association of SUMI, and was recently honored with the Special Jury Award — the Arisumi Mitamura Prize — at Art Beyond Boundaries. Rooted in tradition yet attentive to the present, Jin continues to share a contemporary vision of sumi-e with audiences around the world.