Sumi-e for Beginners: Your First Steps to Japanese Ink Painting Today
New to sumi-e? Learn what Japanese ink painting is, the 4 tools you need, 3 foundational brush strokes, and how to paint your first bamboo—a complete beginner's guide.
Sumi-e for Beginners: Your First Steps to Japanese Ink Painting Today
Sumi-e is the Japanese art of ink painting—created with a brush, ink stick, inkstone, and paper—and you can begin today with just these four tools. No prior drawing experience required. This guide gives you the complete picture: what sumi-e is, what to buy, your first three brush strokes, and how to paint your first bamboo—the subject beginners traditionally start with.
What you will find here:
- A clear definition of sumi-e and how it differs from calligraphy and Nihonga
- The only four tools a total beginner needs
- Three foundational brush strokes, explained step by step
- A watch-along demonstration: painting bamboo, the traditional first subject
- A realistic four-week practice path, starting with bamboo
- Answers to the most common beginner questions
What Is Sumi-e? (The 30-Second Answer)
Sumi-e (Japanese ink painting) is a visual art tradition in which black ink—ground from a compressed ink stick—is applied to washi (Japanese paper) with a brush to create images through tone, line, and empty space rather than colour. The word itself combines sumi (ink) and e (picture).
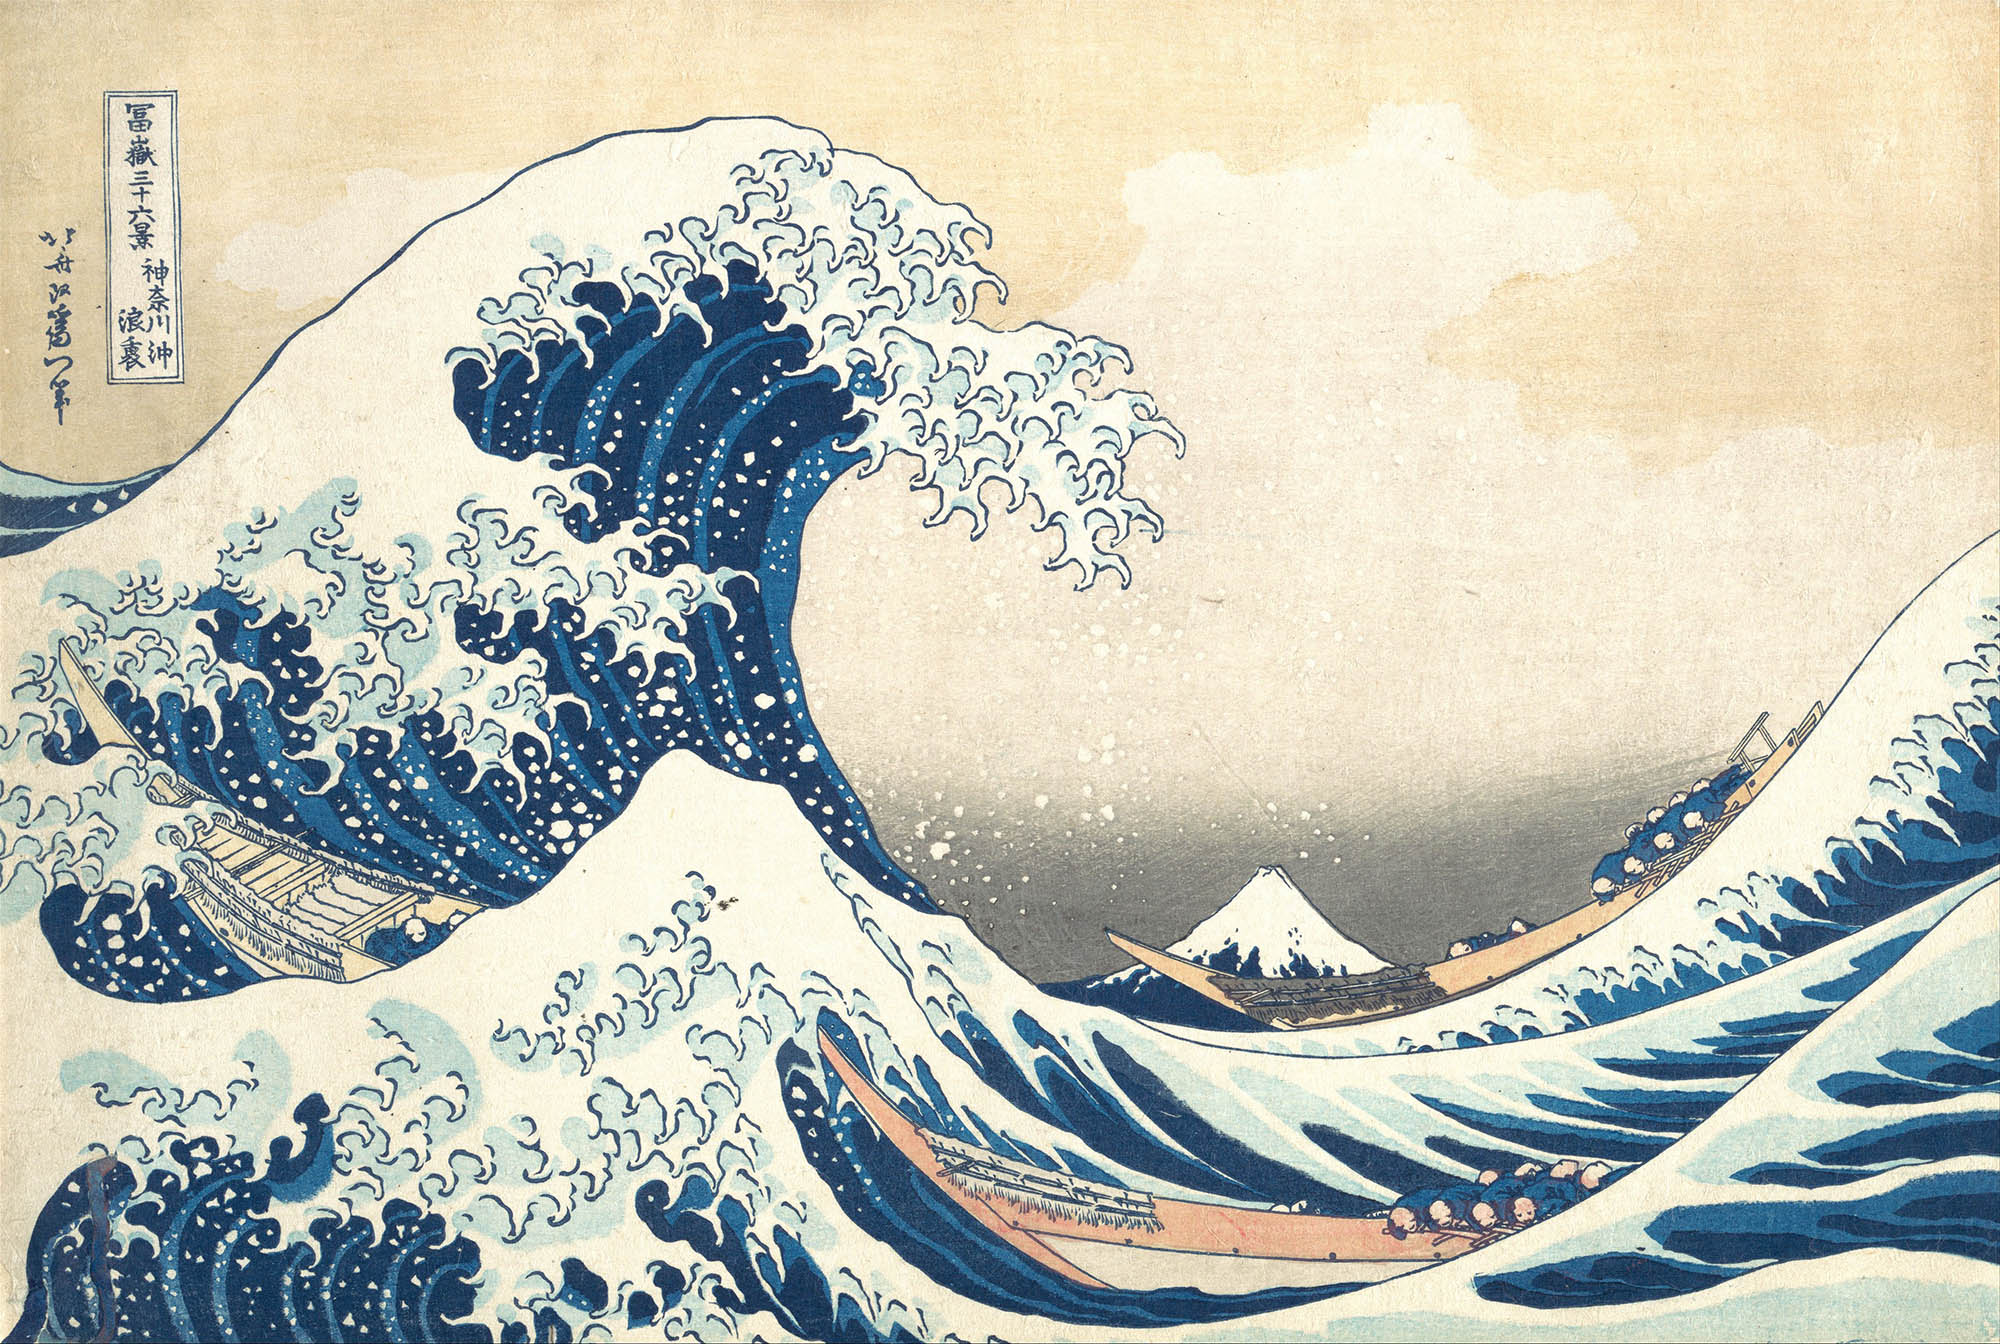
The tradition has its roots in Tang- and Song-dynasty China, where ink painting was already a sophisticated art form. It arrived in Japan around the 14th century and developed its own aesthetic language under the influence of Zen Buddhism, reaching a celebrated peak in the work of Sesshū Tōyō (1420–1506). Today the tradition lives as both a classical discipline and a contemporary practice followed by artists and enthusiasts worldwide.
Sumi-e vs. calligraphy vs. Nihonga: the key differences
These three terms are often confused, so a brief note is worthwhile:
- Sumi-e (Japanese ink painting) is a pictorial art form. Its subject matter is the visible world—bamboo, mountains, birds, figures—rendered in ink.
- Shodo (書道, calligraphy) is the art of writing. It uses many of the same tools—brush, ink, paper—but its primary material is language, not imagery.
- Nihonga (日本画, Japanese-style painting) is a broader category of painting that may employ mineral pigments, shell white, and gold alongside or instead of ink. Sumi-e can sit within Nihonga when ink is the dominant medium, but the two are not synonymous.
Keeping these distinctions in mind helps you search for the right resources and understand what teachers and artists mean when they use each term.
Why sumi-e is called a meditative practice
Ink cannot be erased. Each stroke lands on the paper as a permanent record of the moment—the speed of your hand, the pressure of your grip, the water content in the brush. This irreversibility asks for a quality of attention that is rarely demanded by pencil or digital work. Many practitioners describe a session of sumi-e as quietly absorbing, even calming: the mind narrows to the present gesture. That quality, rather than any formal connection to Zen ritual, is what most people mean when they call sumi-e meditative. You do not need a spiritual background to experience it; you simply need to begin.
A Note from Your Guide
This guide is written by Jin (神雲), a sumi-e artist and calligrapher based in Japan. Jin brings Western calligraphy into dialogue with the Japanese ink-painting tradition and serves as a director of the International Association of SUMI (国際墨友会). Having introduced beginners to the brush both in Japan and abroad, Jin focuses here on the very first steps—so you can pick up a brush and begin today.
What You Need to Start (Essentials Only)
One of the most reassuring things about sumi-e for beginners is how short the starter list is. Before you buy anything, read the full Best Sumi-e Supplies guide, which covers every option in detail. For your very first session, however, four items are enough.
The 4 core tools: brush, ink stick, inkstone, paper
Together these are known in Japanese as the shihō (四宝)—the "four treasures" of the ink arts. Here is what each does and what to look for as a beginner:
Brush (fude 筆) — Choose a medium-sized round brush (roughly 2–3 cm bristle length) with a soft-to-medium tip. Goat or wolf-hair blends sold as "sumi-e brushes" or "Chinese painting brushes" are widely available online and in art supply shops. One brush is sufficient to start.
Ink stick (sumi 墨) — A solid compressed stick of carbon black and hide glue. You grind it against the inkstone with water to produce liquid ink. For beginners, a bottled liquid sumi ink (bokuju) is a practical alternative that removes one variable while you focus on brushwork.
Inkstone (suzuri 硯) — A flat, shallow stone dish with a well at one end to pool the ink. Entry-level slate inkstones are sold for under $20 and serve the purpose well. If you are using bottled ink, a small ceramic dish or saucer works as a substitute.
Paper (washi 和紙) — This is the variable beginners most often underestimate. Washi absorbs ink in a way that produces the characteristic ink bleeding (にじみ, nijimi) and graded tones that define sumi-e. Inexpensive washi practice sheets are ideal for daily drills.
What to skip as a total beginner
Hold off on: artist-grade ink sticks (subtle differences in tone are lost at the beginning stages), large or specialty brushes, mounting materials, and colour pigments. The goal of your first month is to understand how ink and water behave together. Everything else can wait.
For a full breakdown of beginner-friendly brands and where to buy, see the complete supplies guide.
Your First Brush Strokes: 3 Foundational Moves
Before you paint a subject, you practise the vocabulary of ink—how tone, pressure, and speed produce different marks. The three strokes below are the foundation on which most sumi-e motifs are built—and the exact moves you will combine to paint bamboo, the subject most beginners (and our own classes) start with.
How to hold the brush (vertical grip explained)
Hold the brush handle vertically, perpendicular to the paper surface, with the shaft resting loosely between your thumb and first two fingers. Your wrist and forearm remain above the paper rather than resting on the table. This vertical grip allows the tip to respond to the slightest change in pressure and lets the bristles splay or gather as needed. It feels unfamiliar at first; spend five minutes simply moving the brush across a spare sheet before you attempt any of the strokes below.
Stroke 1: the straight pull — hiki-fude (引き筆)
Load the brush with medium-tone ink (a 1:3 ratio of dark sumi to water is a useful starting point). Place the tip on the paper, pause for one breath, then draw the brush smoothly toward you in a single continuous movement. Aim for consistent speed. The resulting line should be firm at the start, steady through the middle, and thinning at the lift. Practise this stroke in sets of ten, varying the ink concentration from dark to pale across the set. This single movement is the skeleton of bamboo stalks, tree trunks, mountain ridges, and water lines.
Stroke 2: the dot and press
Load the brush with darker ink. Touch the tip to the paper, apply downward pressure so the bristles spread, then lift cleanly without dragging. The resulting mark should be wide at the centre and fine at the edges. Vary the pressure and you will produce everything from a small accent dot to a broad leaf-shaped mass. In bamboo painting, a series of these press-marks forms the nodes; in plum-blossom painting, each petal begins this way.
Stroke 3: the graded wash — bokashi (ぼかし)
Bokashi (graded wash) is the technique of moving smoothly from dark ink to pale ink—or from ink to clear water—within a single passage of brushwork. Wet one half of the bristles with dark ink and the other half with water, then lay a broad stroke across the paper. The two tones will blend where they meet, producing a gradient without a hard edge. This technique renders the curved surface of a sphere, the recession of a mountainside, the glow of moonlight on water. It requires a generous brush and a relaxed hand; tension produces streaks rather than gradients.
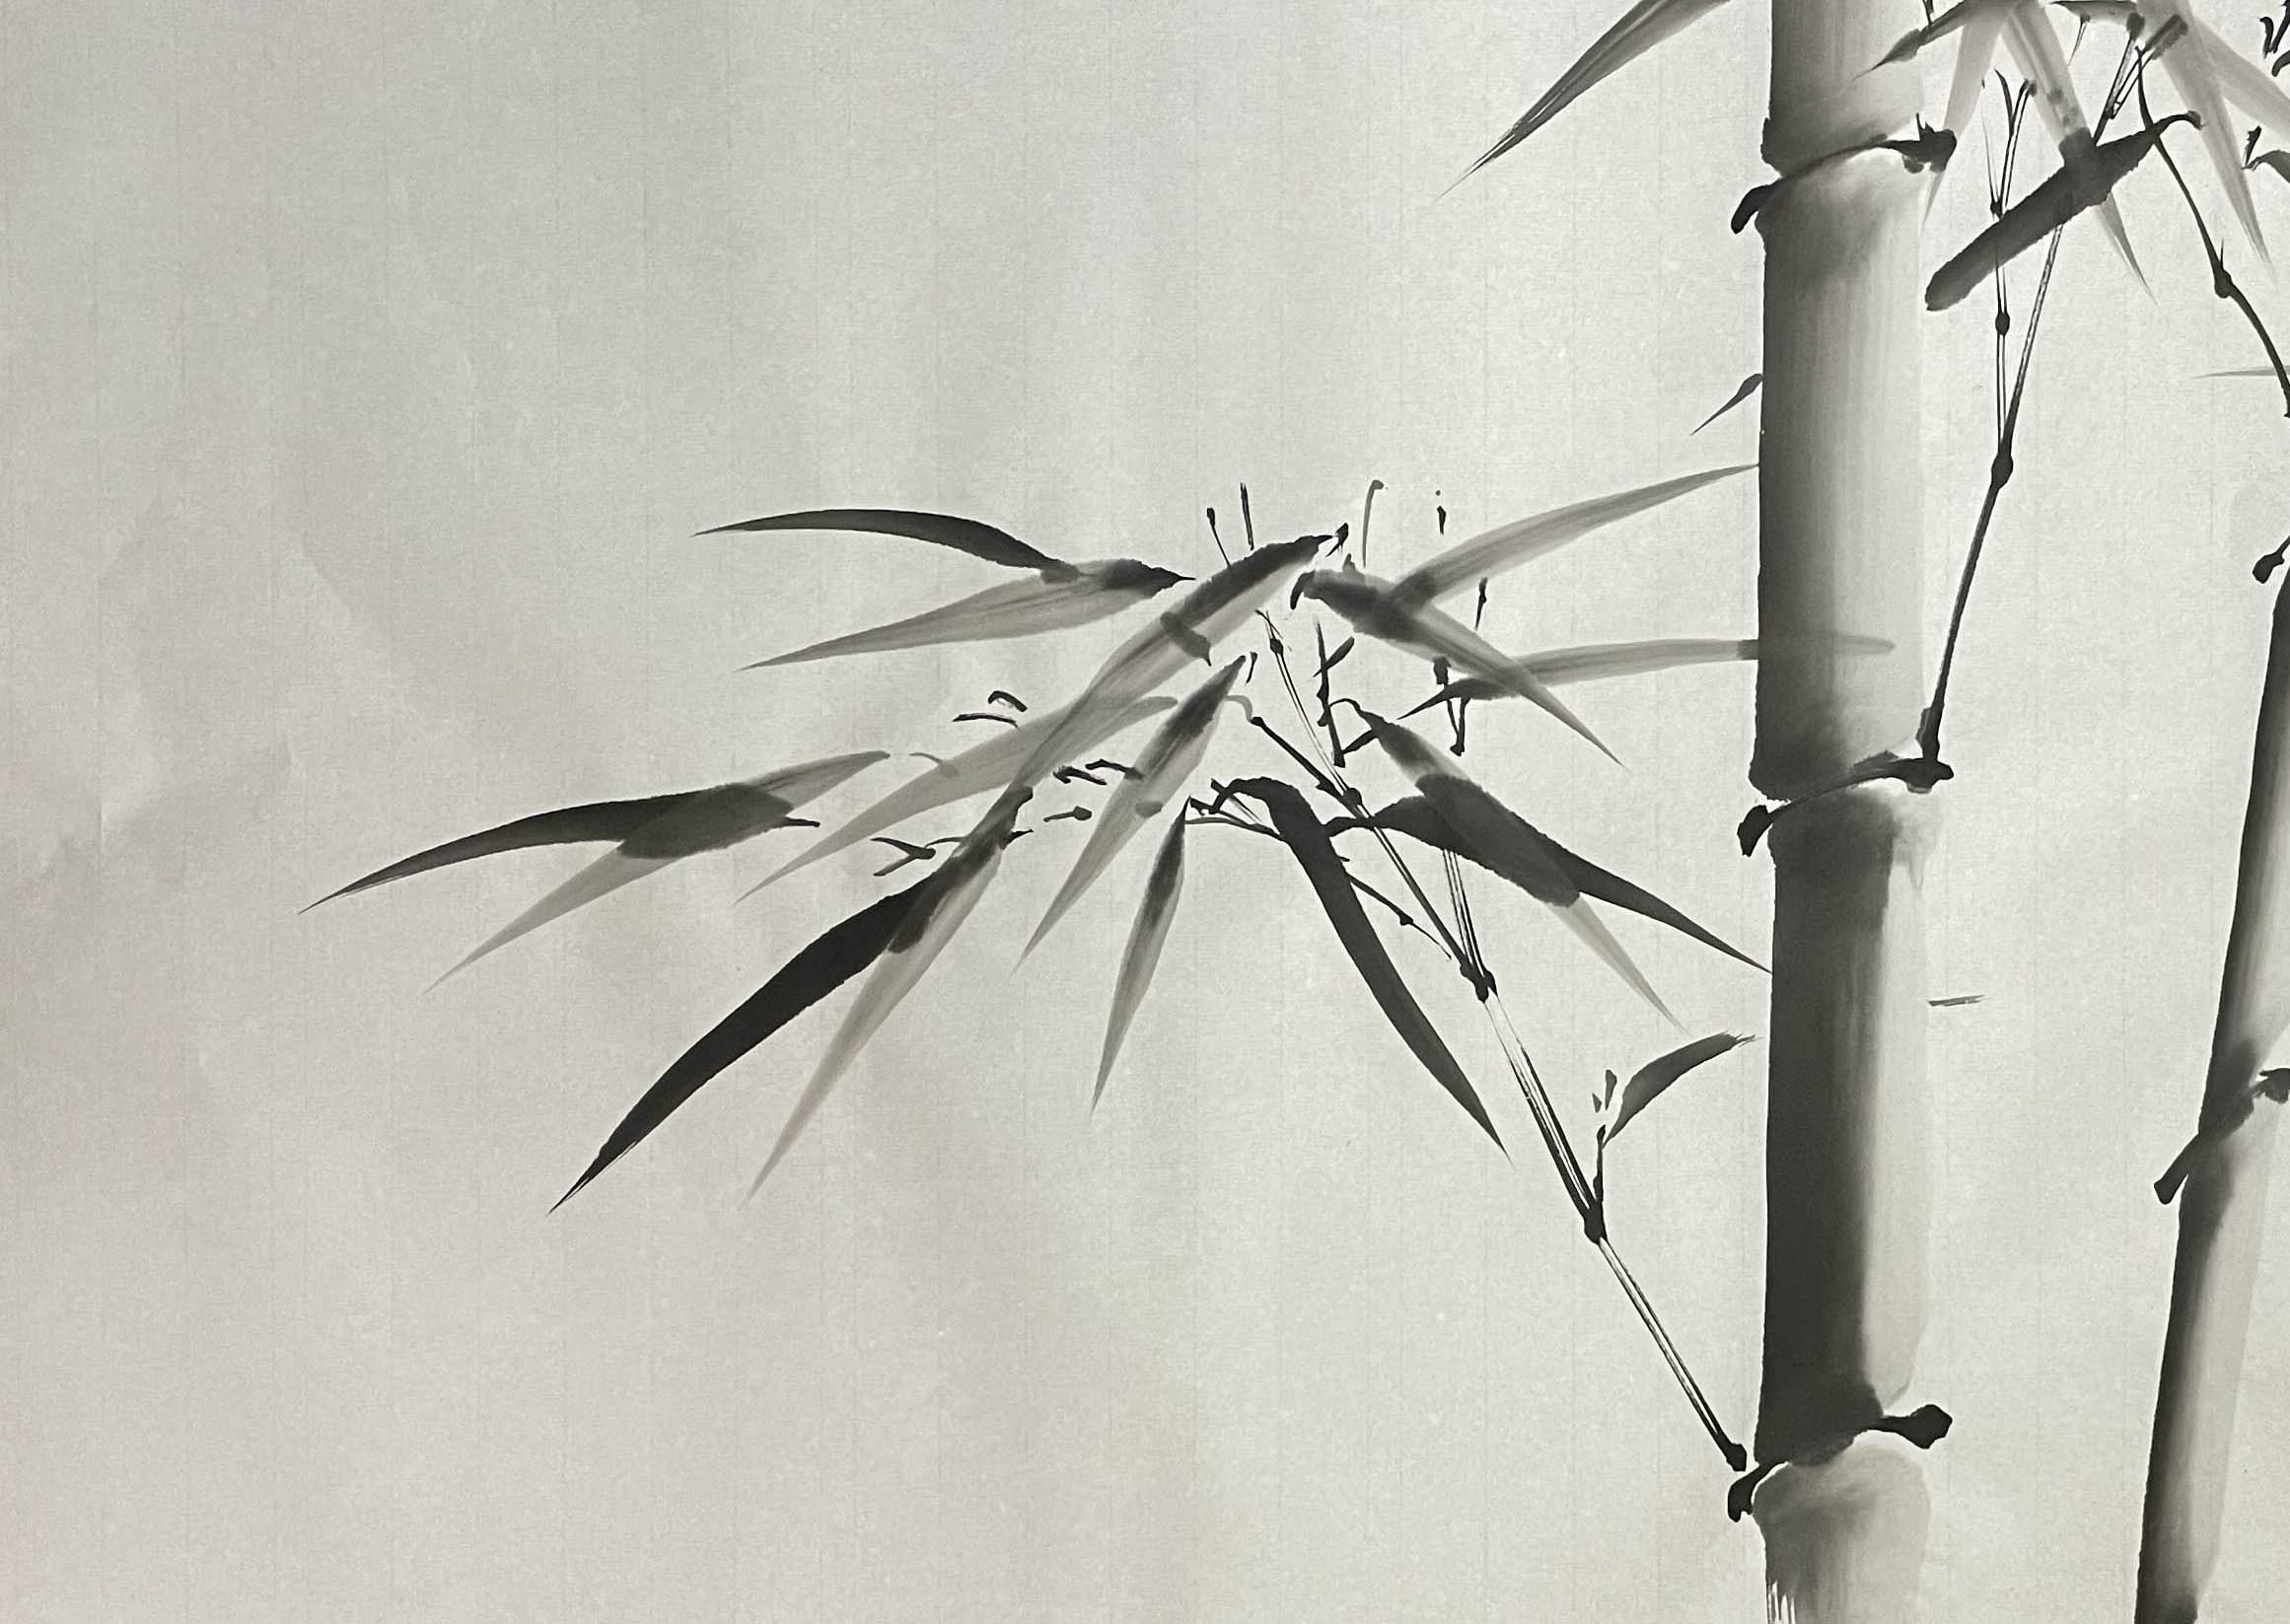
Watch: Painting Bamboo Step by Step
Bamboo is the subject most beginners start with—including in our own classes—because it combines all three foundational strokes in a single motif: the stalk is the straight pull, the nodes are the dot and press, and the leaves are press-marks with directional pulls. In the demonstration below, sumi-e artist Tohun Kobayashi (小林東雲) of the International Sumiyukai (国際墨友会) paints bamboo from the first stroke to a finished stalk. Watch for:
- How dark, medium, and light ink (濃墨 / 中墨 / 淡墨) are prepared on the inkstone
- The vertical grip shown in close-up
- The stalk drawn segment by segment with hiki-fude (the straight pull)
- The nodes added with the dot-and-press stroke
- The leaves built up from press-marks and directional pulls
For the full step-by-step breakdown—including spacing, leaf clusters, and composition—follow the dedicated How to Paint Bamboo in Sumi-e tutorial alongside the video.
A Simple Practice Path: Your First 4 Weeks
Consistency matters more than duration. Two 30-minute sessions per week will take you further than one 3-hour marathon. The path below assumes that starting point.
Week 1: the three strokes and your first bamboo
Begin with strokes 1 through 3, mixing your ink at three dilutions—dark, medium, pale—and noting the results on the paper as you practise. Once the strokes start to feel familiar—often within the first session—paint your first bamboo. Bamboo is the traditional first motif precisely because it encodes all three foundational strokes: the stalk is hiki-fude, the nodes are dots, and the leaves combine press-marks with directional pulls. Work through the How to Paint Bamboo in Sumi-e walkthrough alongside the demonstration video above. Do not aim for a polished result; aim to feel how a single motif draws on every stroke you have learned.
Week 2: refine your bamboo
Return to bamboo, this time for control rather than novelty. Focus on even spacing between the nodes, the rhythm of the leaf clusters, and the balance of dark and pale ink within a single plant. Paint the same composition several times—repetition is where the strokes stop being instructions and become yours.
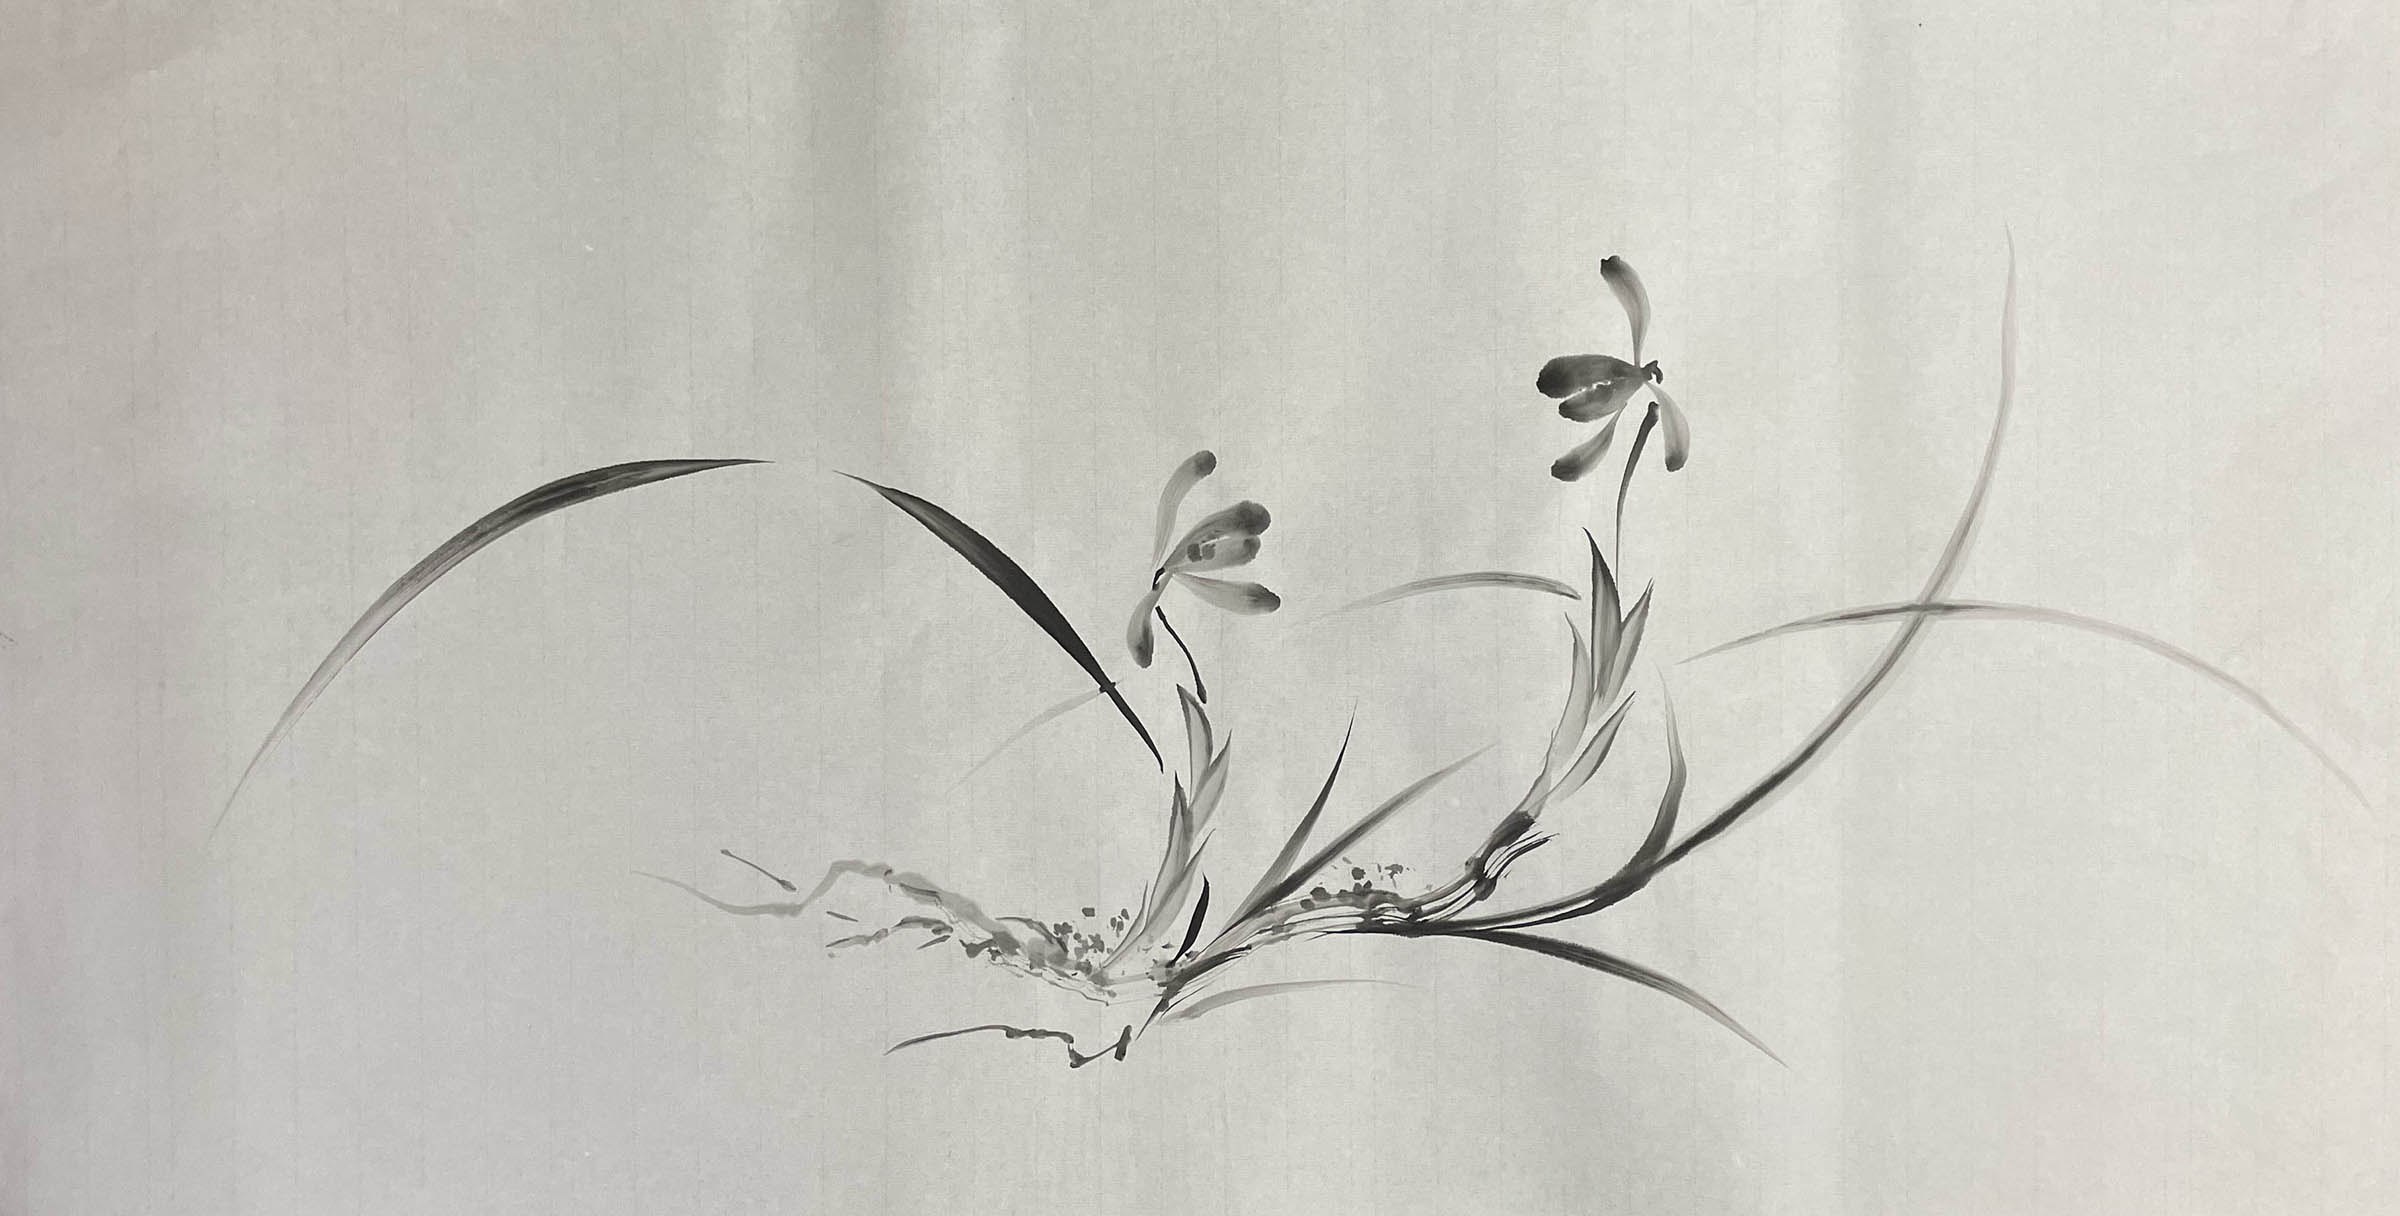
Weeks 3–4: explore graded wash and simple motifs
Return to bokashi and try applying it to a simple rounded form—a stone, the full moon, a persimmon. Then move to a second easy motif of your choice: a plum branch, a fish, or a simple mountain. By the end of week 4, most beginners can produce a recognisable image with intentional variation in tone. That is real progress.
Ready to Go Deeper? Your Next Resources
This guide is the hub. Each section below points to a spoke where you can go further.
Full supplies guide
For detailed comparisons of brush types, ink grades, and washi varieties—including budget picks and where to order outside Japan—see the Best Sumi-e Supplies guide.
How to paint bamboo, step by step
Bamboo is your first motif, and it rewards repetition. The dedicated How to Paint Bamboo in Sumi-e tutorial breaks down the stalk, nodes, leaves, and composition in full detail—pair it with the demonstration video above.
Sumi-e vs. suiboku: understanding the terms
You will often encounter the word suiboku (墨絵) when reading about Japanese ink painting, particularly in art-historical contexts. The short answer: sumi-e is the English umbrella term in common use; suiboku is the Japanese art-historical term for the same tradition. The full explanation—including when the distinction matters—is in the dedicated article Sumi-e vs. Suiboku: What's the Difference?
FAQ: Common Questions from Total Beginners
Is sumi-e hard to learn for a complete beginner?
The entry point is genuinely accessible: four tools, a flat surface, and thirty minutes are enough to begin on the same day you read this. What sumi-e asks of you is not technical complexity but a willingness to commit each stroke without correction—ink is permanent, and that is a feature rather than a flaw. The "mistakes" you make in the first week are data about how your hand moves; they are the most useful marks you will put on paper. For a structured path, see the four-week schedule above.
Do I need to know calligraphy or drawing before starting sumi-e?
No prior skills are needed. Sumi-e (Japanese ink painting) is a distinct visual art form, separate from calligraphy (shodo, 書道), which is the art of writing. The two share tools—brush, ink, paper—but their goals, techniques, and histories are different. Many beginners find that arriving without established drawing habits is an advantage: there is nothing to unlearn. The brush and ink will teach you their own logic from the first stroke.
Can I use regular watercolor paper or sketchbook paper?
For an introductory session, standard watercolor paper or even printer paper will let you experience the brush and ink. That said, washi (Japanese paper) is worth acquiring early: the way washi absorbs ink produces the characteristic nijimi (ink bleeding, にじみ) and bokashi (graded wash) effects that are central to sumi-e's aesthetic. Starting on washi also means the muscle memory you build matches the material you will use long-term. Inexpensive washi practice sheets are easy to find online. For a full paper comparison, visit the supplies guide.
How long does it take to see real progress in sumi-e?
Within a single 30-to-60-minute session, most people notice a change in how the brush responds to their hand—that is immediate, tangible feedback. With one to two practice sessions per week, four weeks is a realistic window to produce a recognisable motif such as a bamboo stalk with intentional variation in tone and line weight. Progress in sumi-e is visible early, even if refinement takes much longer.
What is the difference between sumi-e and suiboku?
Sumi-e is the English umbrella term for Japanese ink painting; suiboku (墨絵) is the Japanese art-historical term for the same tradition. In everyday use, particularly outside Japan, sumi-e is the more common label. The distinction matters most in academic and museum contexts. For the full explanation, see Sumi-e vs. Suiboku: What's the Difference?
For further reading on the Zen aesthetic tradition that so deeply shaped sumi-e's development, the Metropolitan Museum of Art's Heilbrunn Timeline essay on Zen Buddhism offers an excellent introduction alongside its ink painting holdings.
Where to Go from Here
Sumi-e begins with four tools, three strokes, and the decision to place a brush on paper. Everything in this guide—the definitions, the technique explanations, the bamboo-first practice path—is designed to lower the distance between reading and doing. The next step is a real one: set up your inkstone, mix your first wash, and draw a line.
When you are ready for more, the supplies guide and the bamboo tutorial are waiting.
Jin is a sumi-e artist and calligrapher whose practice brings Western calligraphy into dialogue with the Japanese tradition of ink painting. In Jin's work, letterforms, brushed lines, and ma — the resonant negative space at the heart of sumi-e — come together in compositions that speak across cultures. This East–West synthesis grounds an ongoing exploration of artistic possibilities that reach beyond cultural boundaries. Jin currently serves as a Director of the International Association of SUMI, and was recently honored with the Special Jury Award — the Arisumi Mitamura Prize — at Art Beyond Boundaries. Rooted in tradition yet attentive to the present, Jin continues to share a contemporary vision of sumi-e with audiences around the world.
RelatedArticle

Ensō (円相): Meaning, Origins, and the Art of the Zen Ink Circle
The Four Gentlemen of Ink Painting: Plum, Orchid, Bamboo & Chrysanthemum
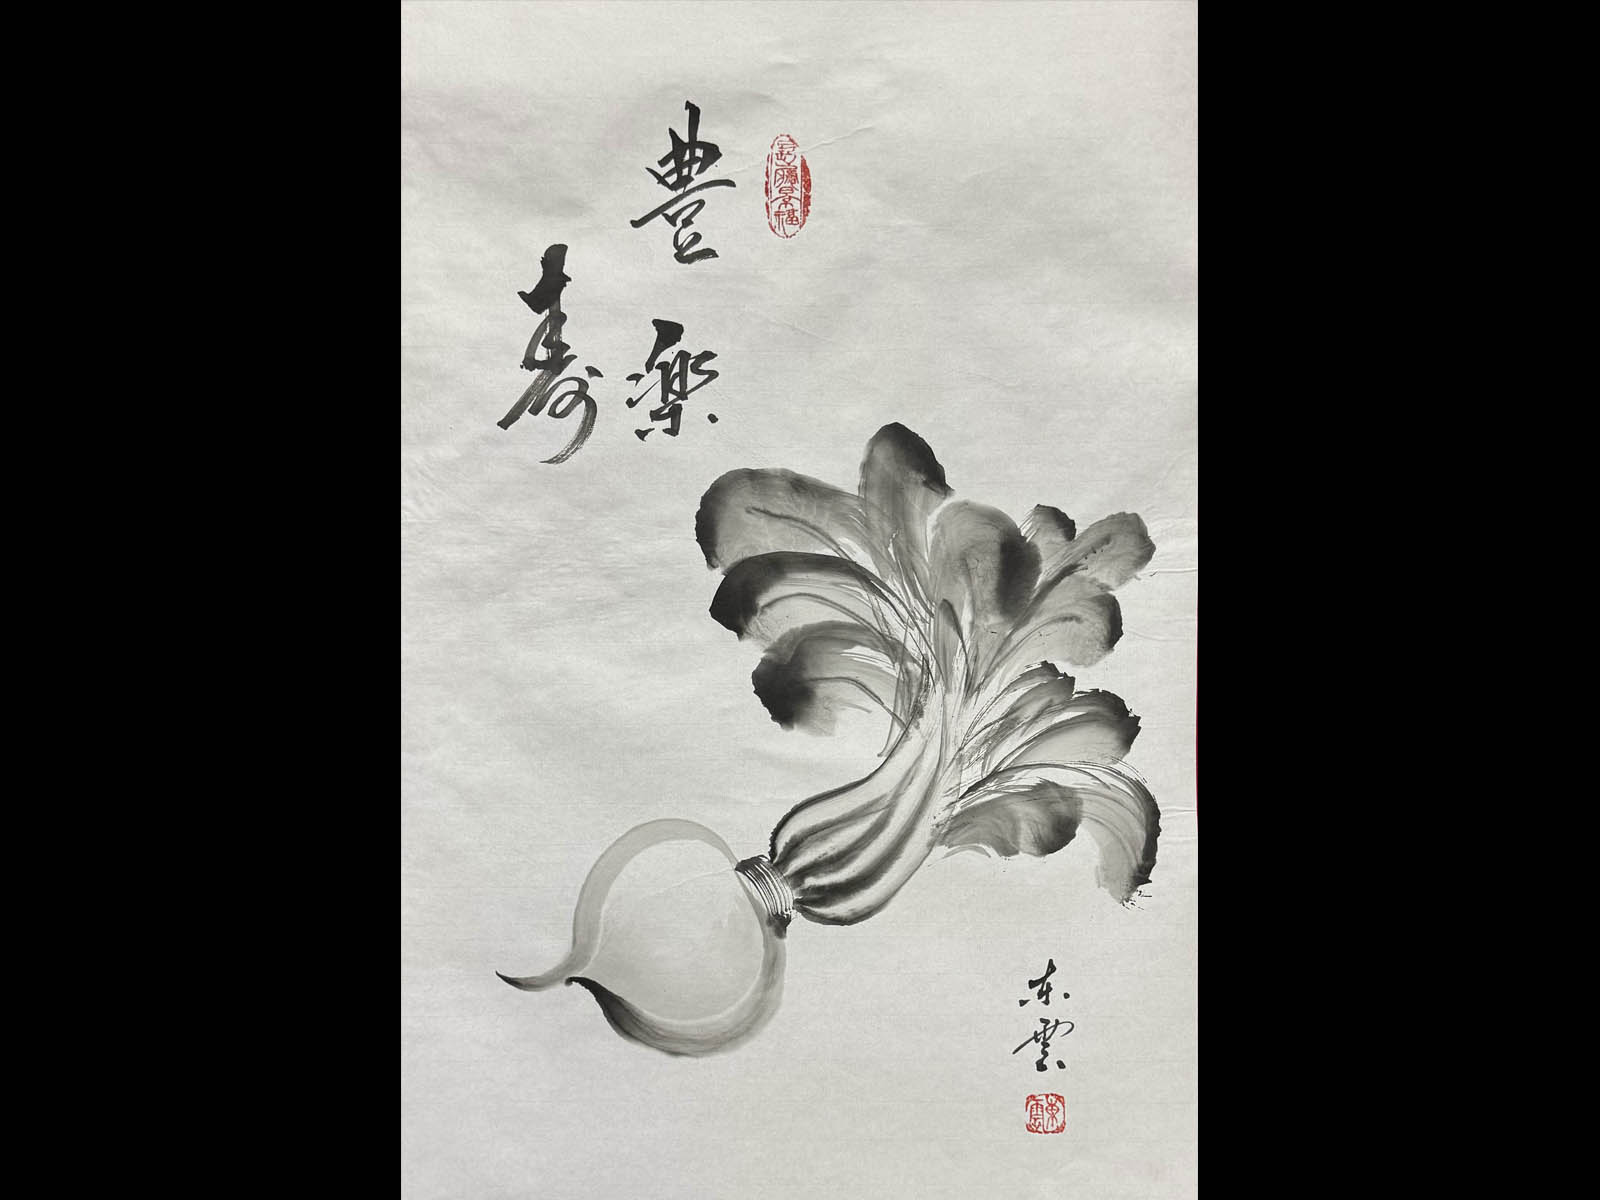
How to Paint a Turnip in Sumi-e: The Boneless (Mokkotsu) Technique